
Pineapple Mini Cake
Description
My mother-in-law’s Birthday, Wedding Anniversary and Mother’s Day all fall on the same weekend! Last year we threw her a huge surprise birthday party. This year we weren’t able to top that but wanted to do something nice to celebrate her. I decided to make her a Mini Pineapple Layer Cake and Strawberries and Cream Macarons. The pineapple cake is baked in 4” round cake pans and is absolutely adorable!! If you don’t have 4 inch cake pans on hand, this recipe can be used to make 12 classic cupcakes. The pineapple makes the cake super moist and who doesn’t love a classic cream cheese frosting? Happy Birthday Elissa and Happy Baking!
- Gluten Free
- Vegetarian
- 35 minutes prep time
- 30 minutes cook time
- 65 minutes total time
Recipe
For the cake:
1 2/3 cups (216g) gluten free flour (I use Bob’s Red Mill GF 1:1)
1 teaspoon baking powder
1/2 teaspoon salt
1/2 cup softened butter
1/4 cup (53g) packed brown sugar
1/2 cup (100g) granulated sugar
1 teaspoon vanilla extract
2 large eggs
8 ounces crushed pineapple (with the juices!)
For the cream cheese frosting:
6 ounces softened cream cheese
6 T softened butter
2 cups powdered sugar
1 teaspoon vanilla extract
For the cake:
1. Preheat oven to 340° F. Spray three 4” cake pans with non-stick cooking spray and set aside.
2. In a small bowl, combine gluten free flour, baking powder and salt. Set aside.
3. In separate bowl, beat the butter until light and fluffy.
4. Add sugars and beat until creamy.
5. Beat in the eggs and vanilla. Scrape down sides of bowl as necessary.
6. Beat in the crushed pineapple.
7. Beat in the dry ingredients until just combined.
8. Divide batter evenly between prepared pans. Bake for 28-32 minutes or until toothpick inserted into the middle comes out clean.
9. Cool the cakes in the pan for 10 minutes, then allow to cool completely on wire cooling rack before frosting.
For the cream cheese frosting:
1. Beat together softened cream cheese and butter.
2. Add powdered sugar and vanilla extract and beat until smooth.
Assembly:
1. Trim and level cakes as needed.
2. Place first cake layer on center of cake board.
3. Top with thin layer of cream cheese frosting.
4. Add second cake layer and top with cream cheese frosting.
5. Add final cake layer on top, making sure it is centered.
6. Apply crumb coat (smooth a thin layer of icing around top and sides of cake).
7. Allow cake to set in the fridge for 30 minutes.
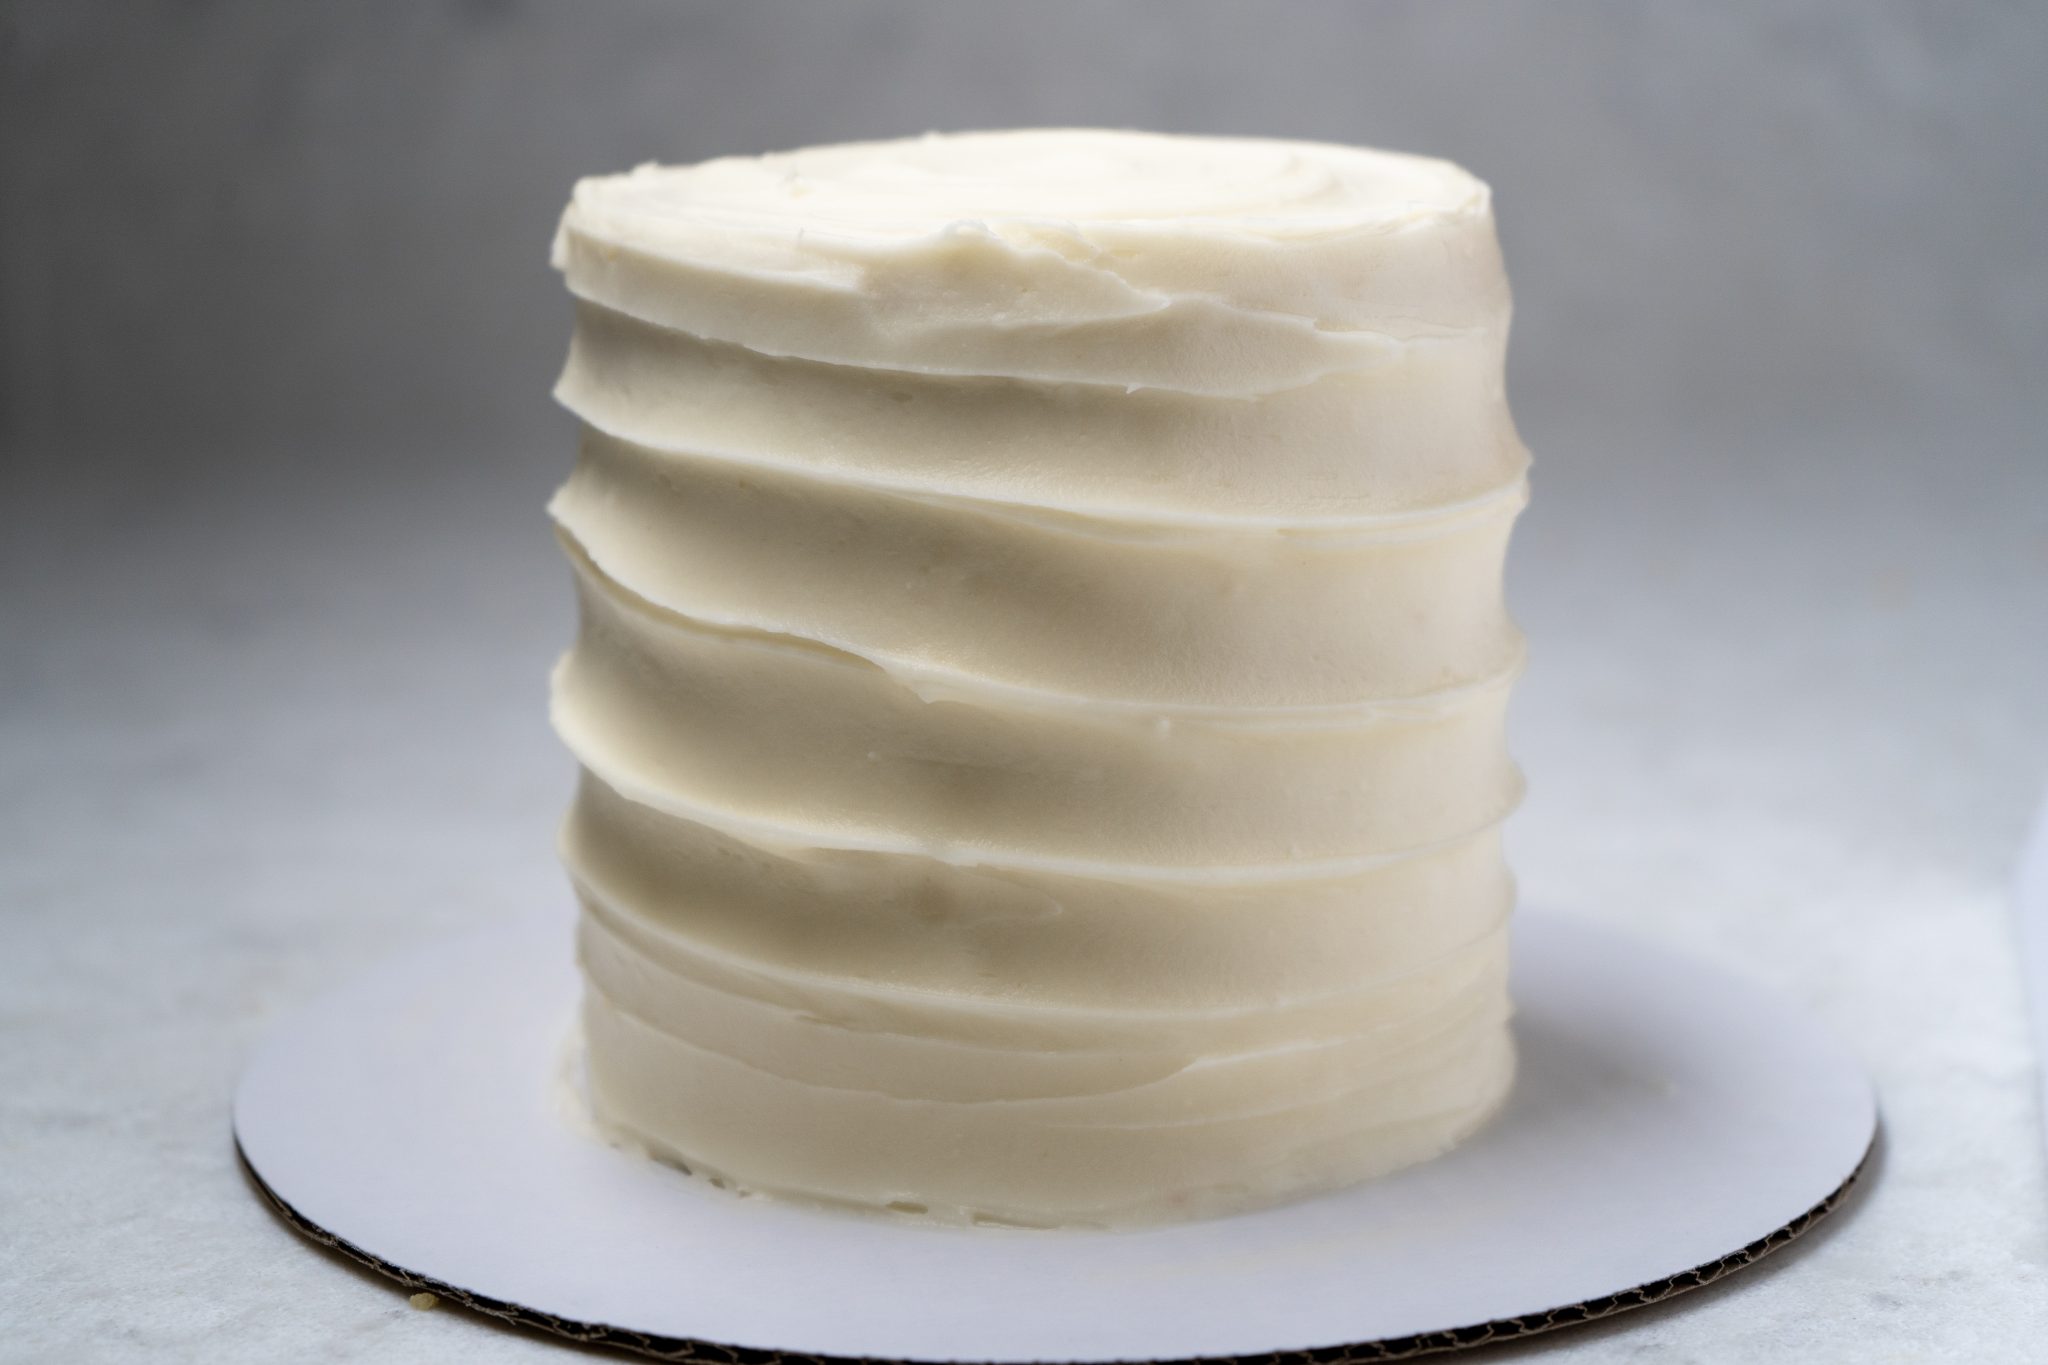
8. Apply thicker layer of frosting around entire cake, smooth with bench scraper. It doesn’t need to be perfectly smooth as we are going to pattern it!
9. Decorate as desired. I used a simple fluted buttercream technique. Starting at the base of the cake, use an angled cake spatula or spoon to press the frosting towards the cake while spinning the turntable and moving your spatula upwards. (Watch video for visual).
10. Slice and enjoy! (Frosted cake should be stored in an airtight container in the refrigerator).
For the cake:
1 2/3 cups (216g) gluten free flour (I use Bob’s Red Mill GF 1:1)
1 teaspoon baking powder
1/2 teaspoon salt
1/2 cup softened butter
1/4 cup (53g) packed brown sugar
1/2 cup (100g) granulated sugar
1 teaspoon vanilla extract
2 large eggs
8 ounces crushed pineapple (with the juices!)
For the cream cheese frosting:
6 ounces softened cream cheese
6 T softened butter
2 cups powdered sugar
1 teaspoon vanilla extract
For the cake:
1. Preheat oven to 340° F. Spray three 4” cake pans with non-stick cooking spray and set aside.
2. In a small bowl, combine gluten free flour, baking powder and salt. Set aside.
3. In separate bowl, beat the butter until light and fluffy.
4. Add sugars and beat until creamy.
5. Beat in the eggs and vanilla. Scrape down sides of bowl as necessary.
6. Beat in the crushed pineapple.
7. Beat in the dry ingredients until just combined.
8. Divide batter evenly between prepared pans. Bake for 28-32 minutes or until toothpick inserted into the middle comes out clean.
9. Cool the cakes in the pan for 10 minutes, then allow to cool completely on wire cooling rack before frosting.
For the cream cheese frosting:
1. Beat together softened cream cheese and butter.
2. Add powdered sugar and vanilla extract and beat until smooth.
Assembly:
1. Trim and level cakes as needed.
2. Place first cake layer on center of cake board.
3. Top with thin layer of cream cheese frosting.
4. Add second cake layer and top with cream cheese frosting.
5. Add final cake layer on top, making sure it is centered.
6. Apply crumb coat (smooth a thin layer of icing around top and sides of cake).
7. Allow cake to set in the fridge for 30 minutes.
8. Apply thicker layer of frosting around entire cake, smooth with bench scraper. It doesn’t need to be perfectly smooth as we are going to pattern it!
9. Decorate as desired. I used a simple fluted buttercream technique. Starting at the base of the cake, use an angled cake spatula or spoon to press the frosting towards the cake while spinning the turntable and moving your spatula upwards. (Watch video for visual).
10. Slice and enjoy! (Frosted cake should be stored in an airtight container in the refrigerator).