Peanut Butter Brownie Cake

Description
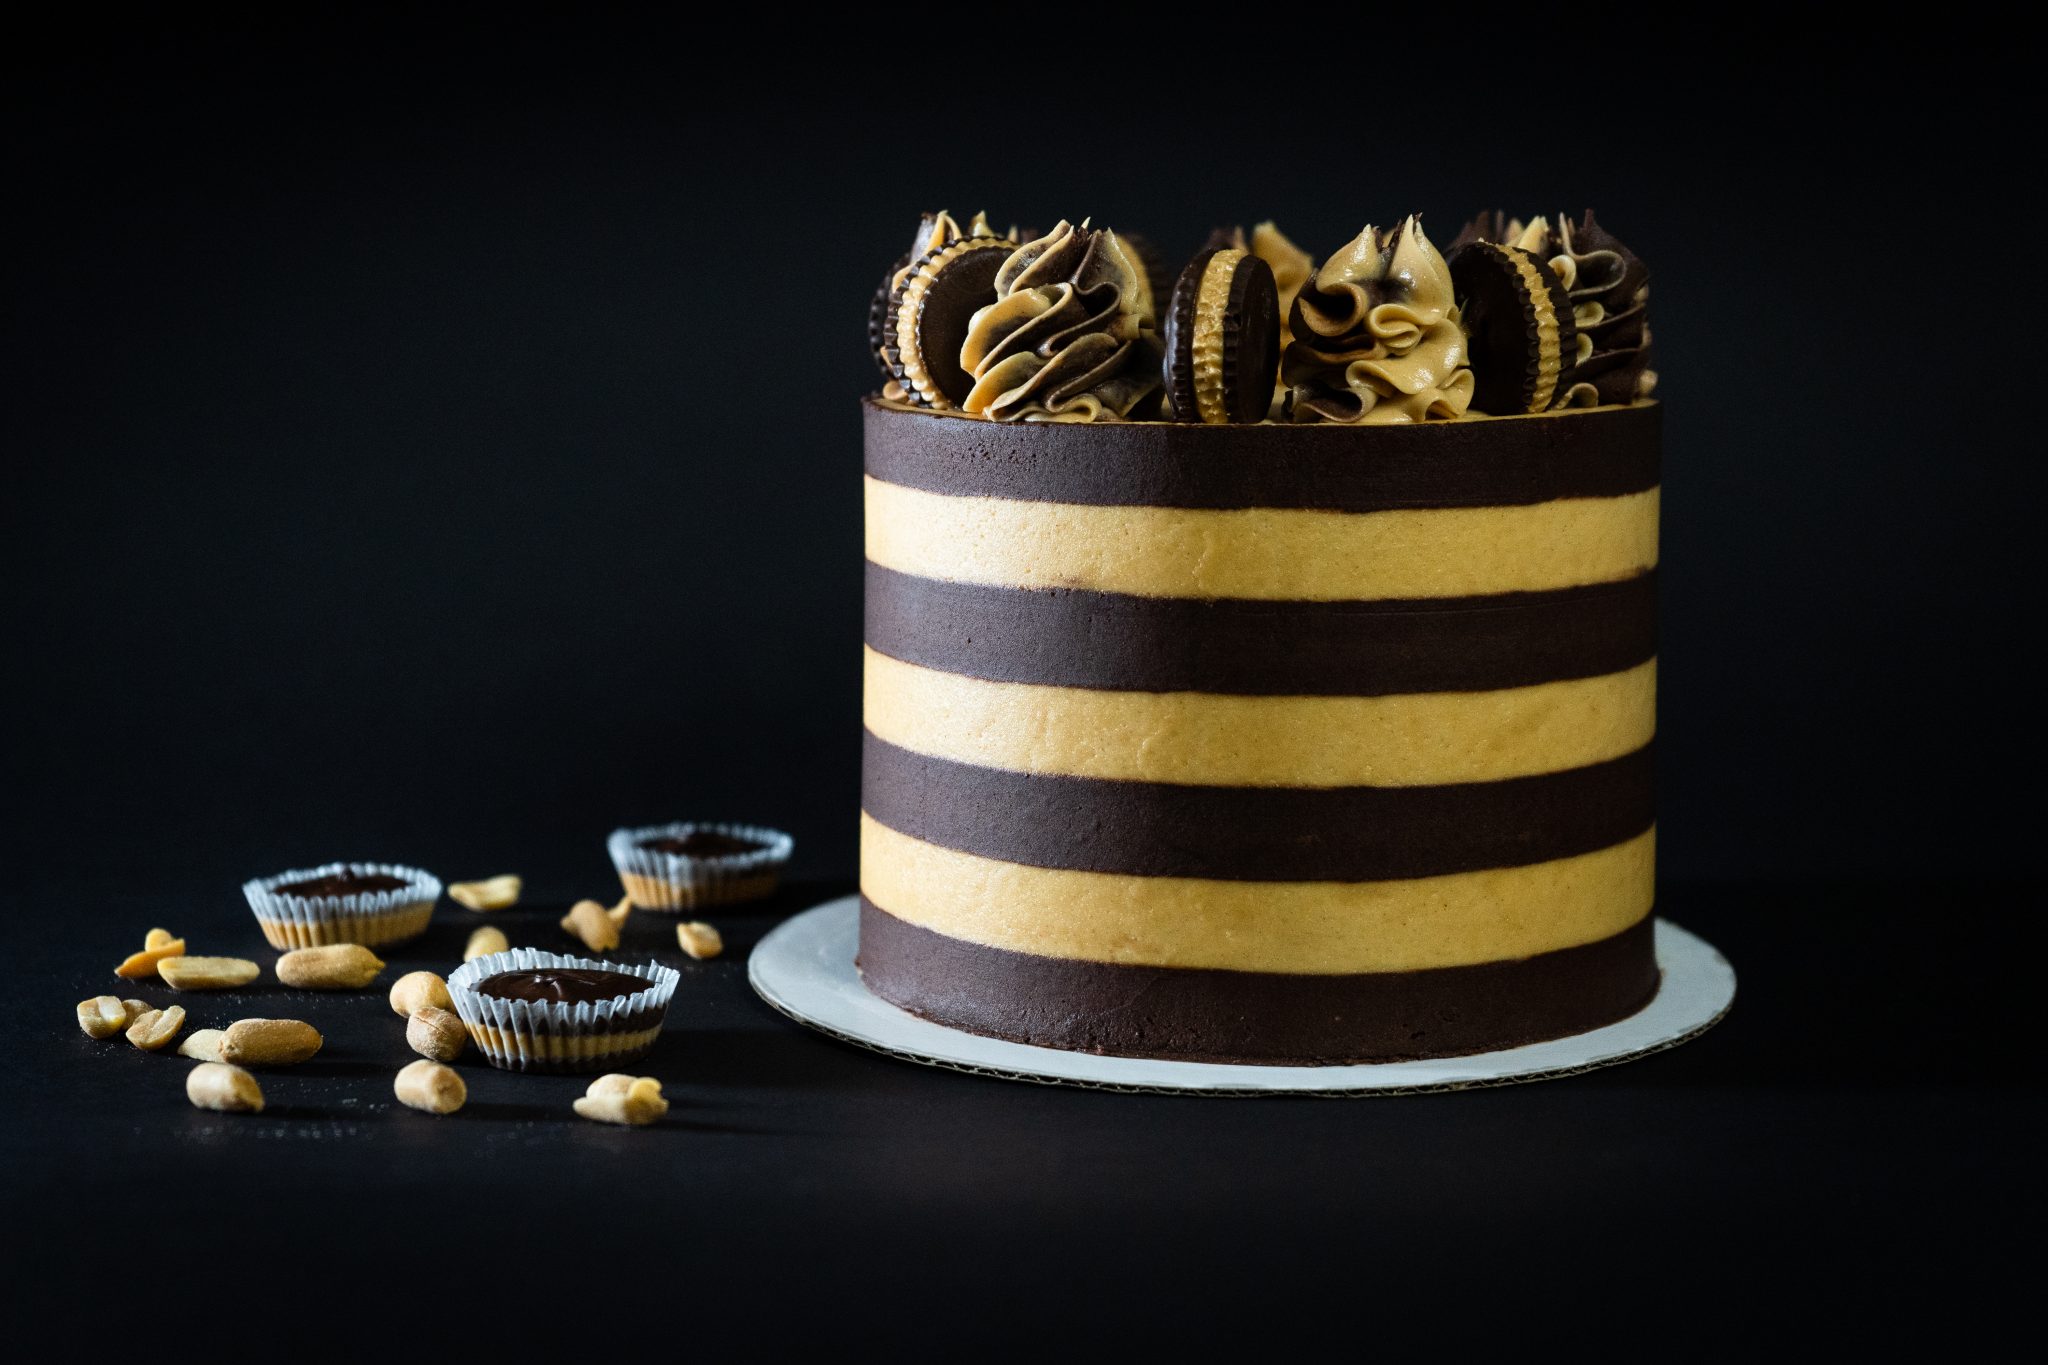
I don’t even have words to describe how much I love this cake. Combining chocolate and peanut butter is ALWAYS a good idea. It is probably my favorite flavor combination. The cake portion tastes like a mix between a flourless chocolate cake and a brownie. It is filled with perfectly fluffy peanut butter frosting and chopped up homemade peanut butter cups. This cake is decadent and rich and will leave you wishing you’d saved more room for dessert! If you have any questions about how to achieve the striped buttercream look please don’t hesitate to reach out. Happy Baking and Happy Eating!
- Gluten Free
- Vegetarian
- 60 minutes prep time
- 90 minutes chill time
- 25 minutes cook time
- 175 minutes total time
Recipe

For the brownie cake:
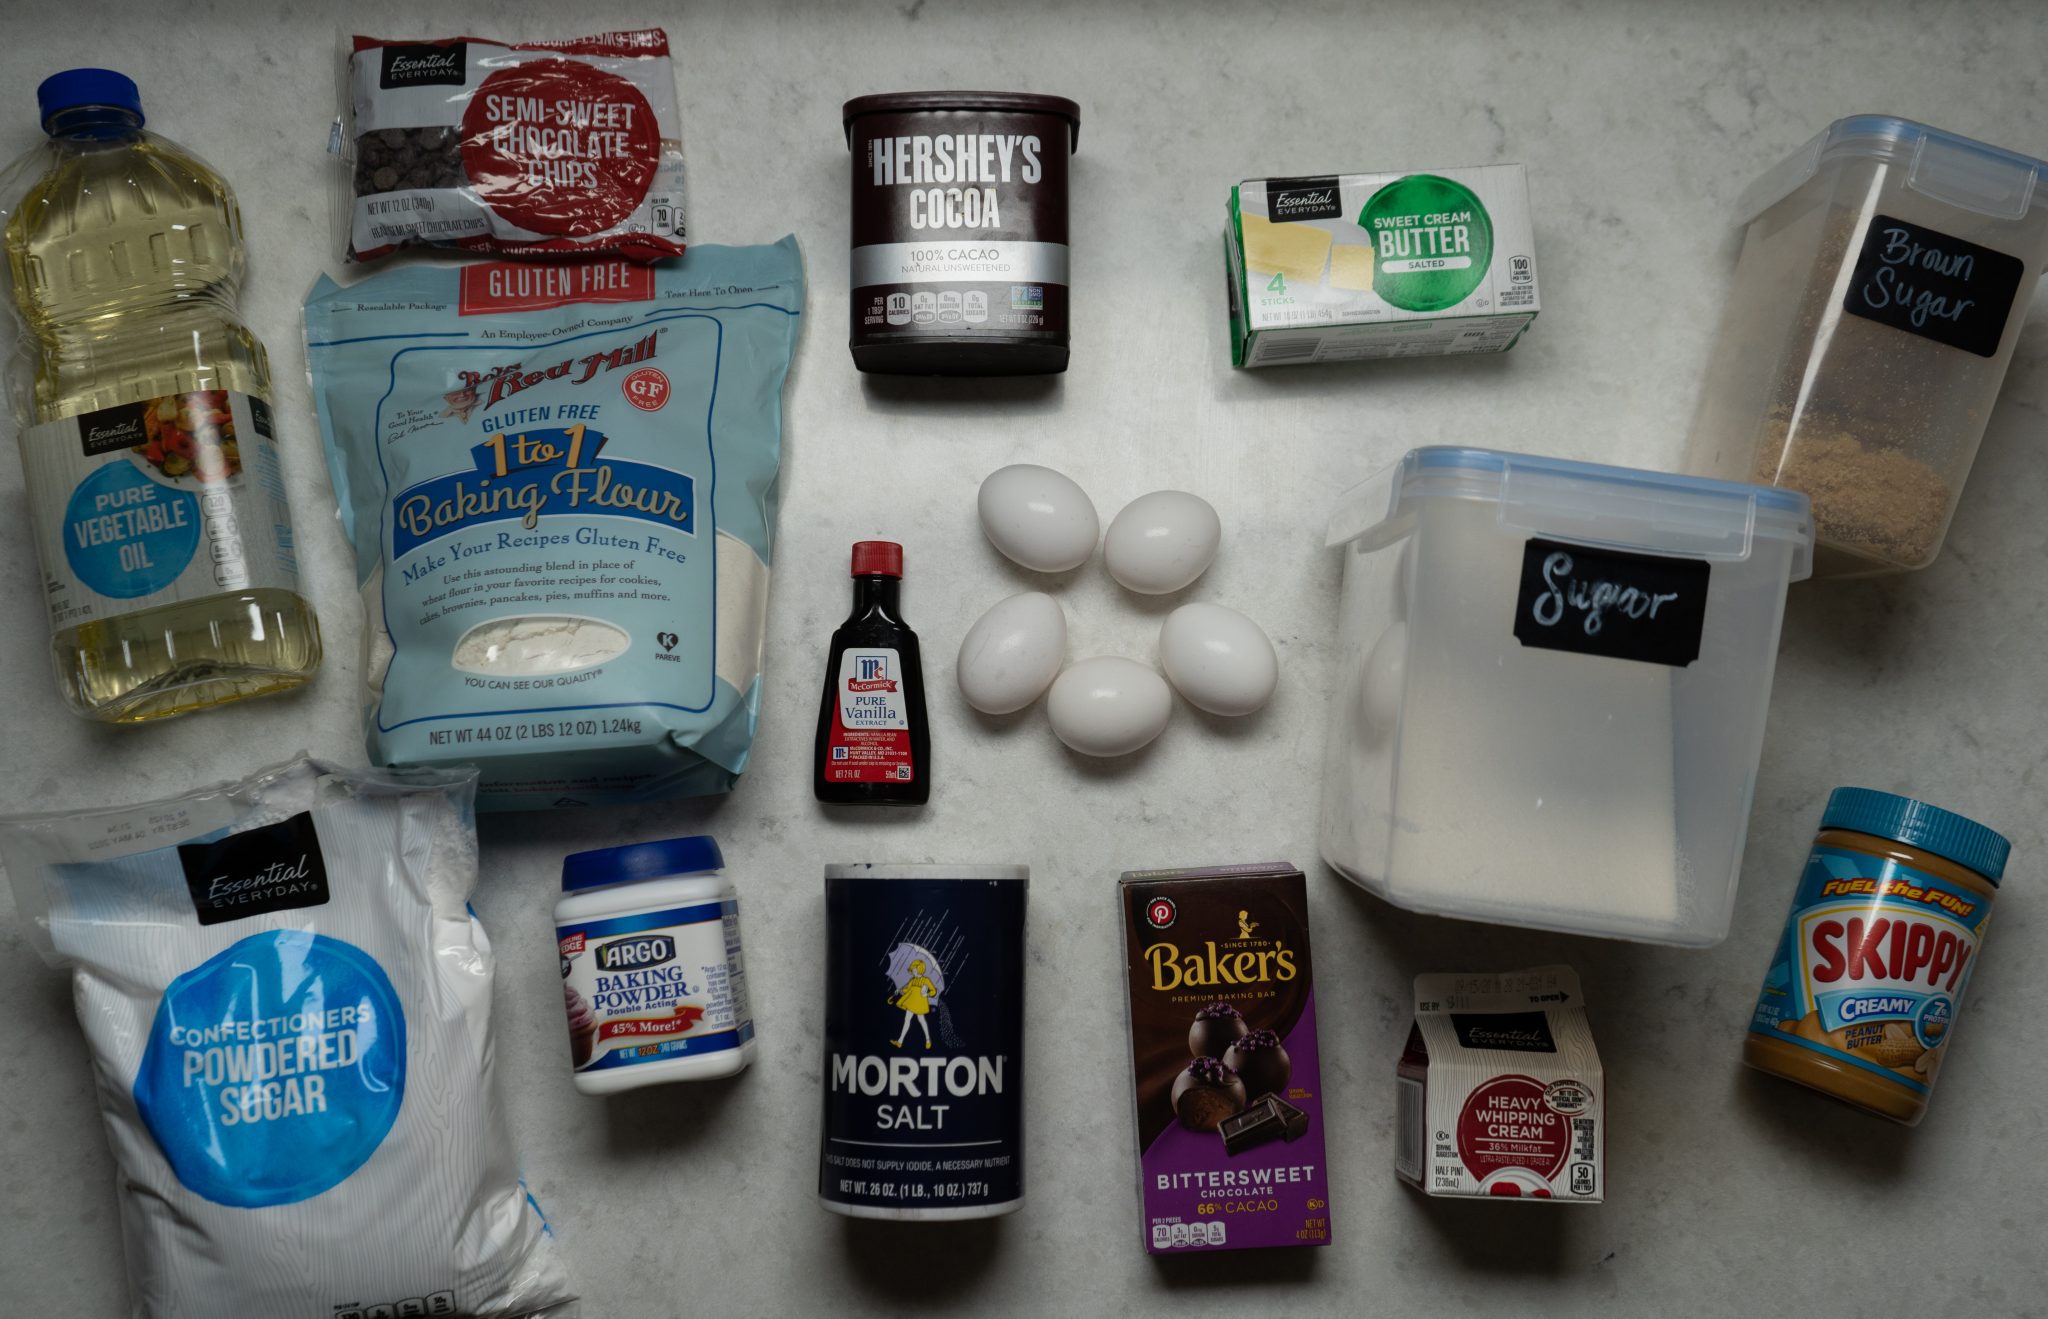
1/2 cup butter
8 ounces bittersweet baking chocolate, chopped
1 cup (200g) granulated sugar
2/3 cup (133g) brown sugar
3/4 cup (95g) gluten free flour
heaping 3/4 cups (85g) natural cocoa powder
3/4 teaspoon baking powder
1/2 teaspoon salt
5 eggs, room temperature
1/2 cup (120ml) vegetable oil
1 teaspoon vanilla
For the peanut butter frosting:
1 cup butter, softened to room temperature
1 cup peanut butter
2 1/4 cups (258g) powdered sugar
1 teaspoon vanilla extract
For the chocolate frosting:
1/2 cup butter, softened to room temperature
1 1/4 cups (160g) powdered sugar
1/2 teaspoon vanilla extract
1/4 cup (25g) cocoa powder
For the brownie cake:
1. Preheat oven to 350° F. Line three 6” pans with parchment paper and spray with non-stick cooking spray.
2. In a large glass bowl, combine butter and chopped bittersweet chocolate. Microwave for 1 minute. Stir until all the chocolate is melted and smooth. If needed, microwave an additional 30 seconds.
3. Whisk the granulated sugar and brown sugar into the melted chocolate and set the bowl aside to cool.
4. In a separate bowl, combine gluten free flour, cocoa powder, baking powder and salt. Set aside.
5. Once the chocolate mixture has cooled some, whisk in the eggs, one at a time.
6. Add the oil and vanilla and whisk until combined.
7. Fold in the dry ingredients and mix until just combined.
8. Divide batter equally between 3 prepared pans.
9. Bake at 350° F for 25 minutes.
10. Allow cakes to cool in the pans for 10 minutes then remove and allow to cool completely on a wire cooling rack.
For the peanut butter frosting:
1. Cream butter until light and fluffy.
2. Add peanut butter and beat until smooth.
3. Add in powdered sugar and vanilla and beat for 2-3 minutes.
For the chocolate frosting:
1. Cream butter until light and fluffy.
2. Add the vanilla extract, half of the powdered sugar and beat 2-3 minutes until smooth.
3. Add in remaining powdered sugar and cocoa powder and beat for 2-3 minutes.
Assembly:
1. Place first cake layer in the middle of a cake board. Secure it with a small dollop of buttercream underneath.
2. Top with even layer of peanut butter buttercream and sprinkle of chopped peanut butter cups.
3. Add second cake layer and another layer of peanut butter buttercream and chopped peanut butter cups.
4. Add final cake layer.
5. Apply thin layer of peanut butter buttercream over the top and sides of the cake to crumb coat it.
6. Refrigerate the cake for 20-30 minutes.
7. Apply an even, thick layer of peanut butter buttercream over the entire cake.
8. Smooth the buttercream with a bench scraper.
9. Use a cake comb to create ridges in the side of the cake. Slowly turn the turn table as you press the cake comb into the side of the buttercream maintaining even pressure from top to bottom.
10. Once the ridges are made, refrigerate or freeze the cake 30-60 minutes. Don’t skip this part! The stripes will be much easier to achieve if the cake is totally chilled.
11. Use the chocolate buttercream to fill in the hollow ridges. It is fine if the lines aren’t perfect or if they overlap onto the peanut butter buttercream a bit, you will be scraping off the top layers anyways!
12. After every ridge is filled with chocolate buttercream use the smooth side of a bench scraper to go around the sides of the cake, smoothing it out. It will look very messy at first, but keep scraping! Clean off the scraper between each pass. Eventually you will be left with beautiful, clean stripes.
13. Decorate as desired! I piped leftover buttercream on the top and decorated with my homemade peanut butter cups.
14. Slice and enjoy!! Leftovers can be kept in the refrigerator for 3 days or wrap individual pieces and freeze.
For the brownie cake:
1/2 cup butter
8 ounces bittersweet baking chocolate, chopped
1 cup (200g) granulated sugar
2/3 cup (133g) brown sugar
3/4 cup (95g) gluten free flour
heaping 3/4 cups (85g) natural cocoa powder
3/4 teaspoon baking powder
1/2 teaspoon salt
5 eggs, room temperature
1/2 cup (120ml) vegetable oil
1 teaspoon vanilla
For the peanut butter frosting:
1 cup butter, softened to room temperature
1 cup peanut butter
2 1/4 cups (258g) powdered sugar
1 teaspoon vanilla extract
For the chocolate frosting:
1/2 cup butter, softened to room temperature
1 1/4 cups (160g) powdered sugar
1/2 teaspoon vanilla extract
1/4 cup (25g) cocoa powder
Decoration-
homemade peanut butter cups, chopped and whole!
For the brownie cake:
1. Preheat oven to 350° F. Line three 6” pans with parchment paper and spray with non-stick cooking spray.
2. In a large glass bowl, combine butter and chopped bittersweet chocolate. Microwave for 1 minute. Stir until all the chocolate is melted and smooth. If needed, microwave an additional 30 seconds.
3. Whisk the granulated sugar and brown sugar into the melted chocolate and set the bowl aside to cool.
4. In a separate bowl, combine gluten free flour, cocoa powder, baking powder and salt. Set aside.
5. Once the chocolate mixture has cooled some, whisk in the eggs, one at a time.
6. Add the oil and vanilla and whisk until combined.
7. Fold in the dry ingredients and mix until just combined.
8. Divide batter equally between 3 prepared pans.
9. Bake at 350° F for 25 minutes.
10. Allow cakes to cool in the pans for 10 minutes then remove and allow to cool completely on a wire cooling rack.
For the peanut butter frosting:
1. Cream butter until light and fluffy.
2. Add peanut butter and beat until smooth.
3. Add in powdered sugar and vanilla and beat for 2-3 minutes.
For the chocolate frosting:
1. Cream butter until light and fluffy.
2. Add the vanilla extract, half of the powdered sugar and beat 2-3 minutes until smooth.
3. Add in remaining powdered sugar and cocoa powder and beat for 2-3 minutes.
Assembly:
1. Place first cake layer in the middle of a cake board. Secure it with a small dollop of buttercream underneath.
2. Top with even layer of peanut butter buttercream and sprinkle of chopped peanut butter cups.
3. Add second cake layer and another layer of peanut butter buttercream and chopped peanut butter cups.
4. Add final cake layer.
5. Apply thin layer of peanut butter buttercream over the top and sides of the cake to crumb coat it.
6. Refrigerate the cake for 20-30 minutes.
7. Apply an even, thick layer of peanut butter buttercream over the entire cake.
8. Smooth the buttercream with a bench scraper.
9. Use a cake comb to create ridges in the side of the cake. Slowly turn the turn table as you press the cake comb into the side of the buttercream maintaining even pressure from top to bottom.
10. Once the ridges are made, refrigerate or freeze the cake 30-60 minutes. Don’t skip this part! The stripes will be much easier to achieve if the cake is totally chilled.
11. Use the chocolate buttercream to fill in the hollow ridges. It is fine if the lines aren’t perfect or if they overlap onto the peanut butter buttercream a bit, you will be scraping off the top layers anyways!
12. After every ridge is filled with chocolate buttercream use the smooth side of a bench scraper to go around the sides of the cake, smoothing it out. It will look very messy at first, but keep scraping! Clean off the scraper between each pass. Eventually you will be left with beautiful, clean stripes.
13. Decorate as desired! I piped leftover buttercream on the top and decorated with my homemade peanut butter cups.
14. Slice and enjoy!! Leftovers can be kept in the refrigerator for 3 days or wrap individual pieces and freeze.
